Deep Learning requires an enormous amount of computing power that cannot be contained in a laptop. Thus, to work “on the go”, it is necessary to use cloud services such as AWS Elastic Compute Cloud (EC2), Google Cloud Platform (GCP), or Microsoft Azure. The simplest way to use these cloud services is by creating a virtual machine (VM) and running experiments inside it.
The problem with remote VMs are that they do not offer a display. Thus, most developers either use command-line editors such as Vim or Emacs, or write all the code locally and push it to remote VMs only for experiments. Although both solutions work, command-line editors have a steep learning curve for those familiar with more “modern” editors, and writing code locally requires a full setup on the local machine, defeating the purpose of a remote VM.
To address these concerns, cdr/code-server is VS Code running on a remote server accessible through the browser. The setup is very simple: taking less than ten minutes, and yet the results are amazing!
Note that in this post, we use a Linux VM instance from Google Cloud Platform and access it through a browser on a Windows machine. There is a good guide here, but it seemed to lack images and some details.
Installation on the Server-side
Before starting, if you do not have a VM instance already, create a new VM instance following the guide. Then, open port tcp:8443 for with filter 0.0.0.0/0 using the following guide. (You can choose a different port number if needed)
SSH into your Google Cloud platform to get started.
Download code-server
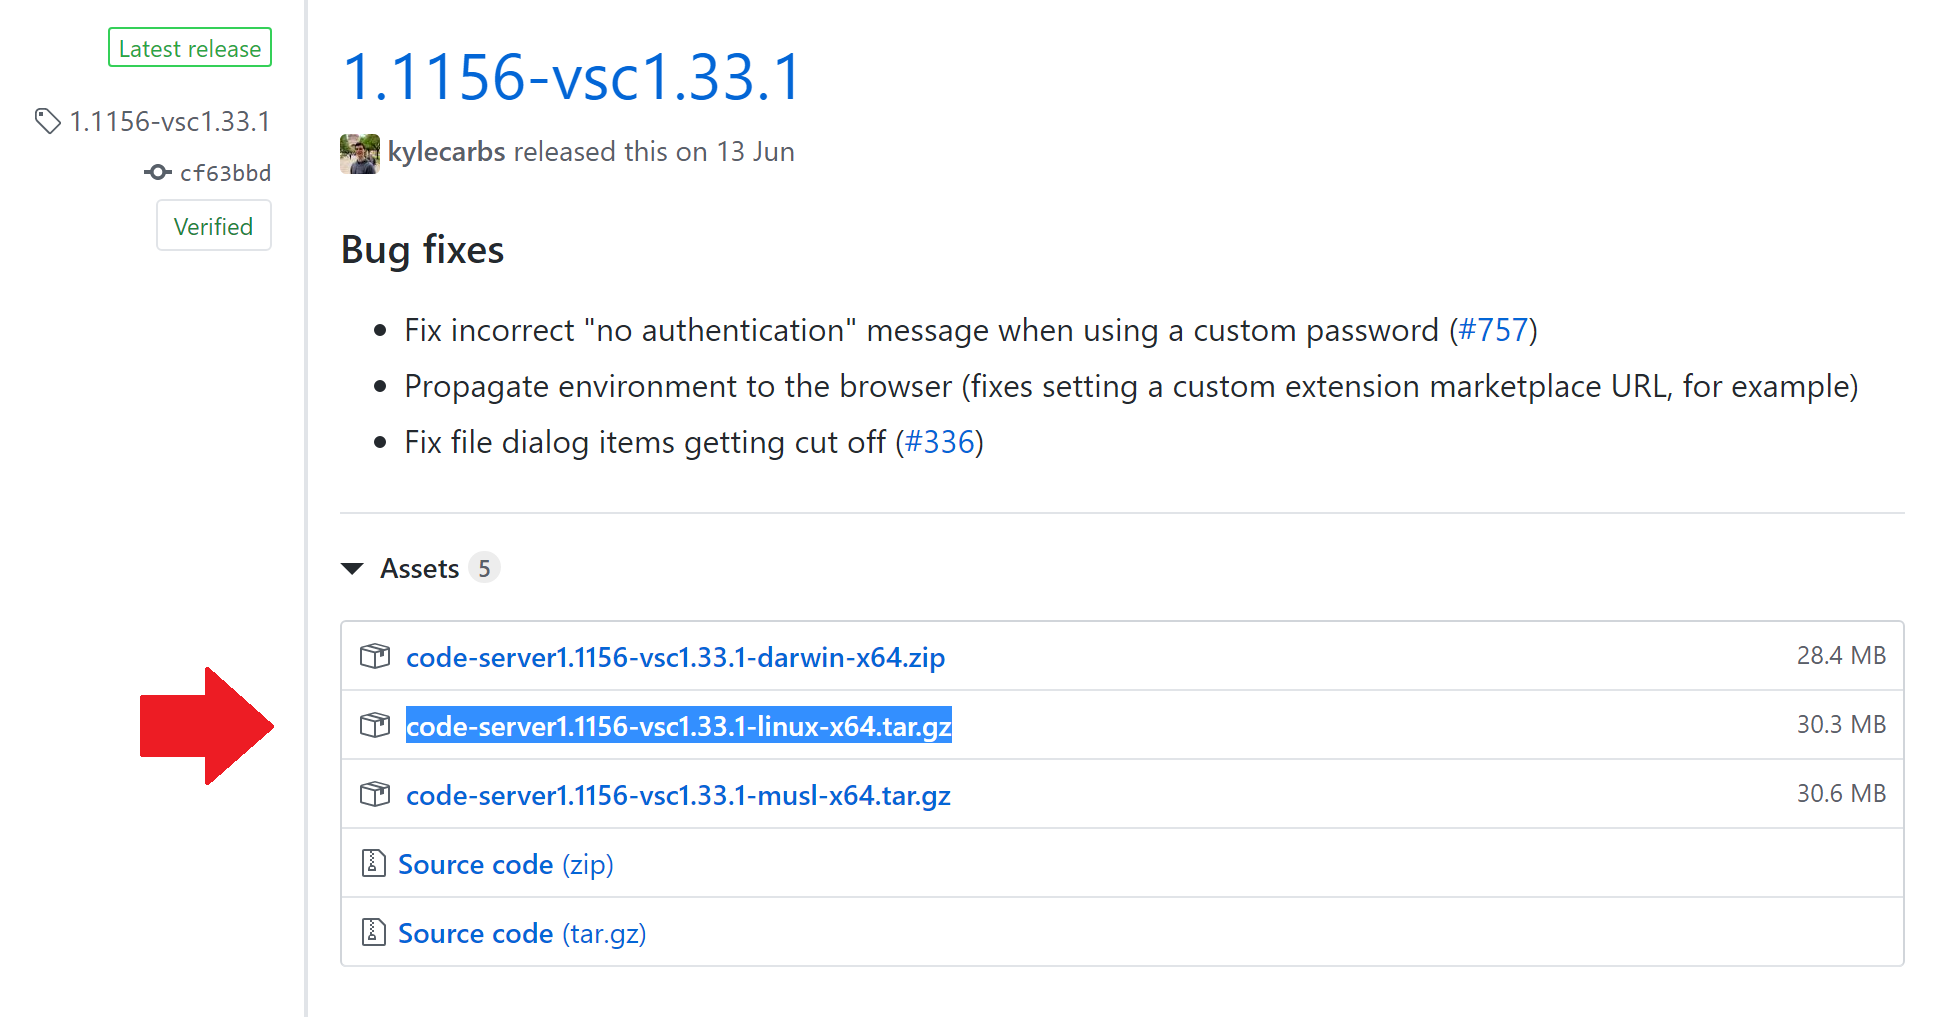
Now, go to the Releases page of cdr/code-server. Copy the filename of the binary (.tar.gz) file of the latest release for Linux.

Use a wget command to download the binary file, and unzip it with tar.
wget https://github.com/cdr/code-server/releases/download/{version}/code-server{version}-linux-x64.tar.gz
tar -xf code-server{version}-linux-x64.tar.gz
Run code-server
Navigate to the unzipped folder and make the binary executable:
cd code-server{version}-linux-x64.tar.gz
chmod +x code-server
Now, we can run the binary!
sudo ./code-server .. -p 8443
The .. denotes the root directory of VS Code, and the -p flag allows you to set the port number.
Setup Password (Optional)
By default, code-server generates a password for you when you start it. However, it is tedious to memorize this randomly generated password, so it is better to set a more memorable password.
To set a password, you need to set an environment variable. You can make this a part of the sudo command:
sudo PASSWORD=12345678 ./code-server .. -p 8443
The -E flag for sudo preserves the environment variable.
Accessing on the Client-side
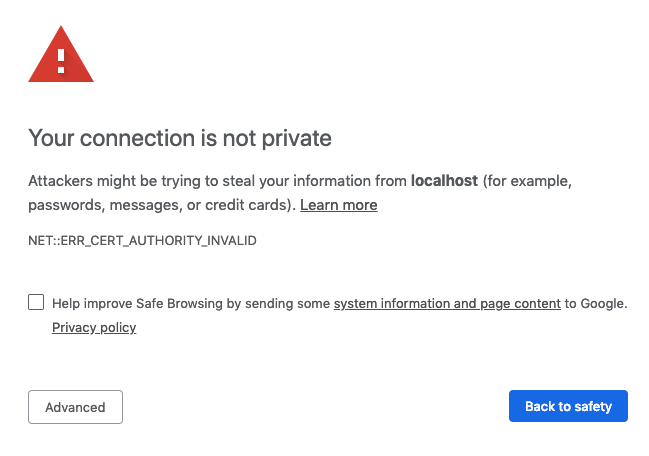
Now, you can access the server-side code anywhere! Navigate to the server’s IP address aa.bb.cc.dd:8443. You might get a warning like below:

Click ‘Advanced’, then click ‘proceed anyway’.
You will then be greeted with the screen asking you to enter the password. Enter the generated password or the password you set here:

And you will be greeted with a VS Code!